
Dear Howard,
This one is really for me. I wanted to make something pretty, I needed to use up our matcha powder from our trip to Taiwan, and I had been eyeing those cartons of raspberries at Costco for a long time. Plus, I bought this tart pan months ago with the intention of making this very tart. (Ahh, now you know why I dropped that tart pan into our shopping basket. Thanks for not stopping me.)
This tart took longer than I thought it would, lots of planning and make-ahead involved. Yet, on the outside, it looks so simple. A chocolate tart shell, fill it with some pastry cream, and then some raspberries plopped on top. Now I know why those beautiful French bakeries charge so much for their miniature tarts.
Chocolate Tart Dough
Recipe from Sugar Rush
Makes enough for two tarts
Notes: There’s chilling time for this, so plan ahead and make this dough a day ahead or early in the morning if you want it ready for the afternoon.
1½ stick unsalted butter, cold and diced
1 cup confectioners’ sugar
2 large eggs
2½ cups all-purpose flour
¼ cup cocoa powder
½ teaspoon salt
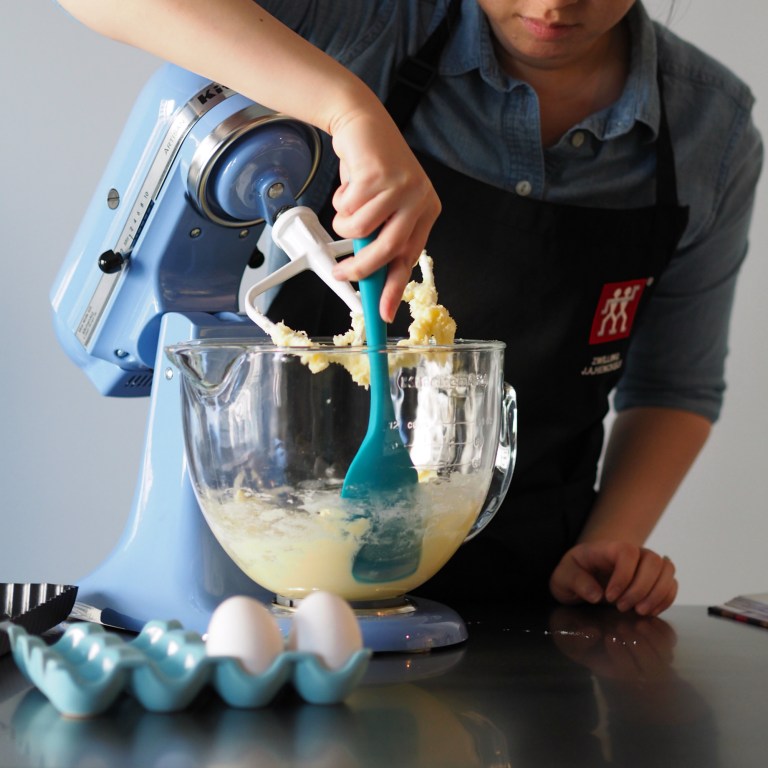
- You’re going to want your stand mixer for this. Put the butter and sugar in to the mixer’s bowl and attach the mixing paddle on it. This will remind you of making buttercream, but with cold butter. Mix on low speed until the sugar is combined and the butter is smooth (it’ll take a few minutes).
- Add in the eggs and mix until combined and smooth on medium speed. You’ll need to scrape down the bowl from time to time.
- I know you’re supposed to sift items like the confectioners’ sugar, flour, and cocoa powder, but I honestly rarely do it. At this stage, I just added the flour, cocoa powder, and salt into the bowl and had the mixer on low. Scraped when I needed to and then stopped the mixer when it started to look clumped together. Remember, you’re going to knead it a bit, so you don’t need to over mix it at this stage.
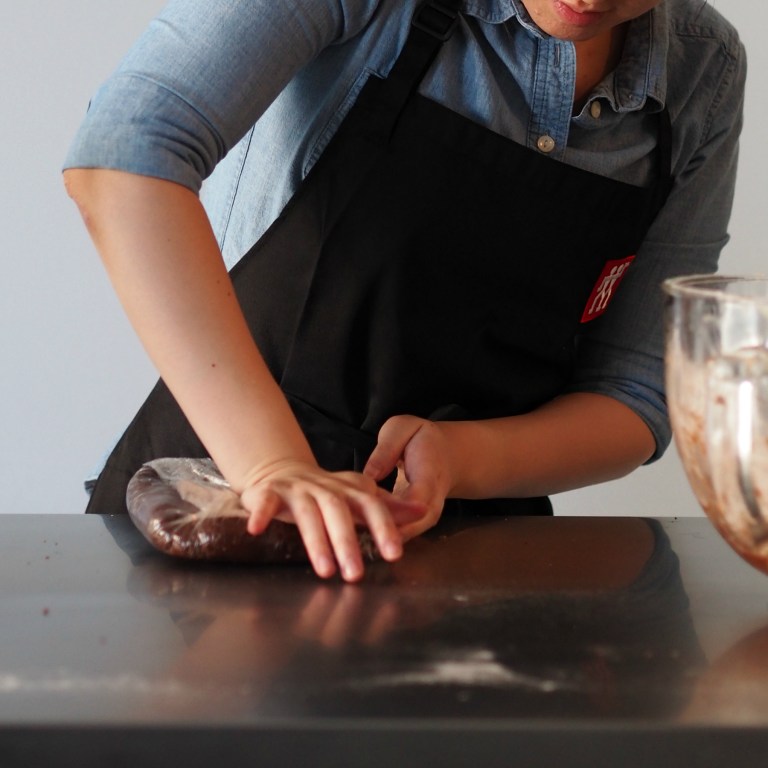
- Scoop out the dough onto a lightly floured surface, in my case, that would be on clear plastic wrap. I like working on the plastic that I’m going to later wrap the dough in. Plus, less table wiping later! Knead the dough until it’s combined and smooth. Shape the dough into a disc-shape and wrap it tightly in the plastic wrap. Press down on the dough in the plastic wrap to get rid of any air bubbles. Chill overnight or for at least an hour.

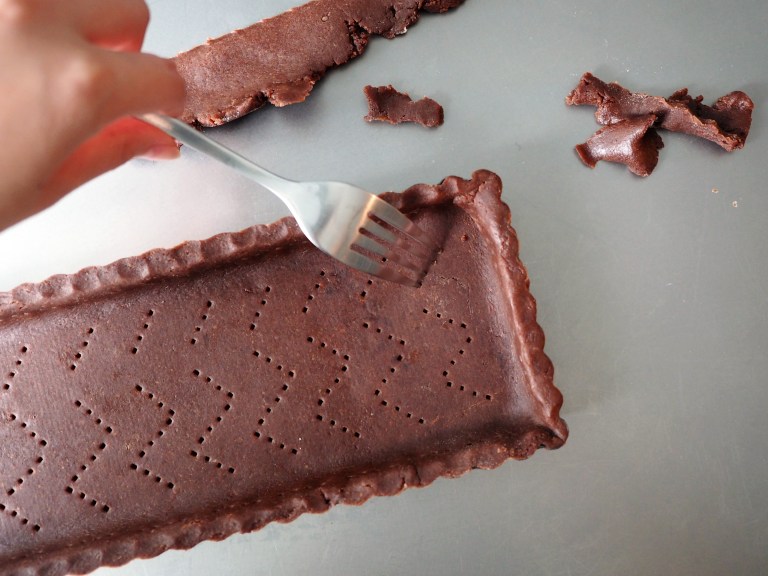
Preparing the Tart Shell
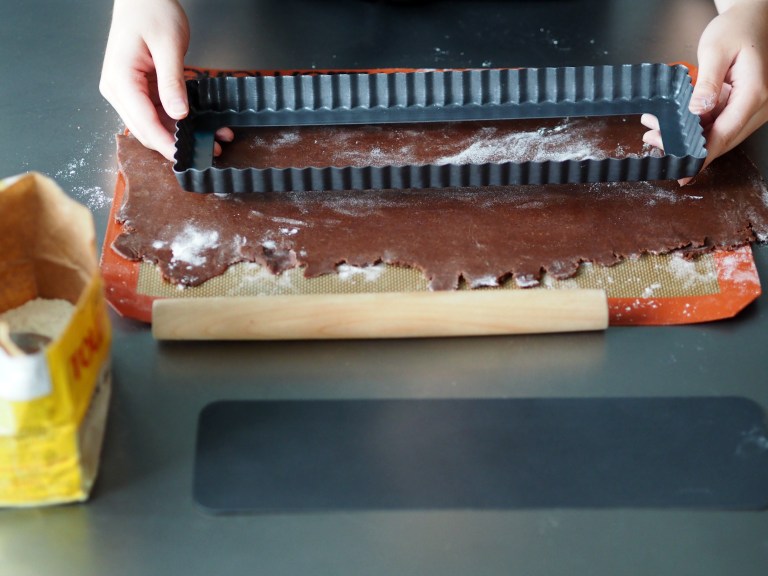
- Take out the chilled dough from the refrigerator and let it sit for a few minutes. You’ll know when it’s time to roll, when it’s still chilled, the dough is impossible to roll. Cold dough will crack when you try to shape it. Lightly dust your work surface and rolling pin with flour and remove the plastic wrap from the dough. You also don’t want the dough to be too soft, then it’ll become sticky.
- Roll out the dough in the shape of your tart pan. Make sure you have about 2-inches more dough around the edge of your pan. You don’t want your tart more than ¼-inch thick. I rolled the dough on a silicone mat to make the transfer to the pan easier.
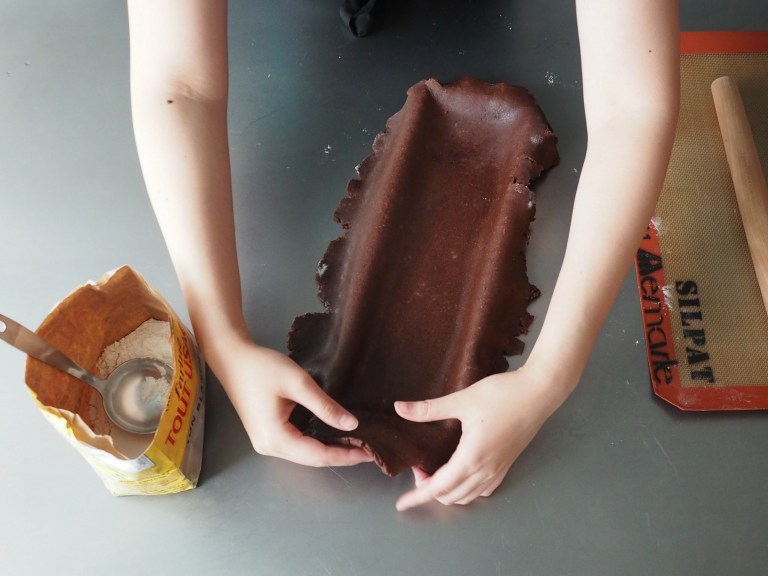
- Lightly spray the tart pan with some cooking oil. Then carefully place the dough on the tart pan – in my case, I just peeled it off the silicone mat above the pan – and work quickly and carefully to start adjusting the dough. Make sure the dough is touching the bottom of the pan. Then gently press to make sure the dough is placed in the edges, corners, and evenly lined along the edges. Don’t pull the dough taunt, you want to keep it relaxed so it doesn’t shrink too much when baking. When everything is covered, start trimming the excess dough off of the edge. Pop that into the fridge to chill some more as you wait for your oven to preheat.
- Preheat your oven to 375°F.
- Trim a piece of parchment paper large enough to cover your tart. When your oven is done preheating, take out the chilled tart shell and line it with the parchment paper. Make sure it covers the edges too. Use pie weights or rice or in my case, a few small ramekins to cover the parchment paper. This will help keep your shell from puffing up.
- Bake for 12-15 minutes in the oven. Then take out the tart and remove the pie weights or rice and remove the parchment paper as well. Pop it back into the oven to bake for 15-20 minutes. It should be nice and crispy when it’s done.


Matcha Pastry Cream
Recipe adapted using the vanilla pastry cream from Sugar Rush
Makes enough to fill two tarts
Notes: There’s chilling time for this, so plan ahead and make this pastry cream a day ahead or early in the morning if you want it ready for the afternoon.
2 cups whole milk
2 tablespoon matcha / green tea powder
⅓ cup granulated sugar
3 tablespoons cornstarch
¼ teaspoon salt
6 large egg yolks
3 tablespoons unsalted butter, cubed
- In a saucepan, pour in the milk and matcha powder and heat over medium heat. Stirring until the milk begins to steam, but is not bubbling at a boil.
- In a bowl, whisk the sugar, cornstarch, and salt together.
- In another bowl, whisk the egg yolks until combined. Pour in the sugar, cornstarch, and salt and continue to whisk until it’s pale yellow and fluffy.
- This step is important and happens really fast, so be ready. While you’re whisking with one hand, the other one can pour in about ¼ to ⅓ of the hot milk. Whisk hard as you don’t want the heat from the milk to cook the eggs (in which, you’ll end up with scrambled eggs), so you have to keep moving. When it’s combine, add another ¼ to ⅓ and whisk until it is well blended. Repeat until all of the hot milk is whisked in. Then pour the mixture back into the saucepan.
- Heat the saucepan over medium heat and whisk continuously – I know, you’re getting the best arm workout ever – until it starts bubbling. Let it boil for 2 minutes and then turn off the heat and remove the saucepan.
- Whisk in your cubed butter until it’s melted into the mixture. Pour it through a strainer or sieve to get rid of any lumps (or possibly bits of cooked eggs).
- Take out a rimmed baking sheet and pour the pastry cream over it. Spread it until you have a thin even layer. Cover plastic wrap over the surface and have it cool in the refrigerator for at least two hours or overnight.
- When you’re ready to use it, transfer the pastry cream from the sheet to a bowl and give it a stir and mix.

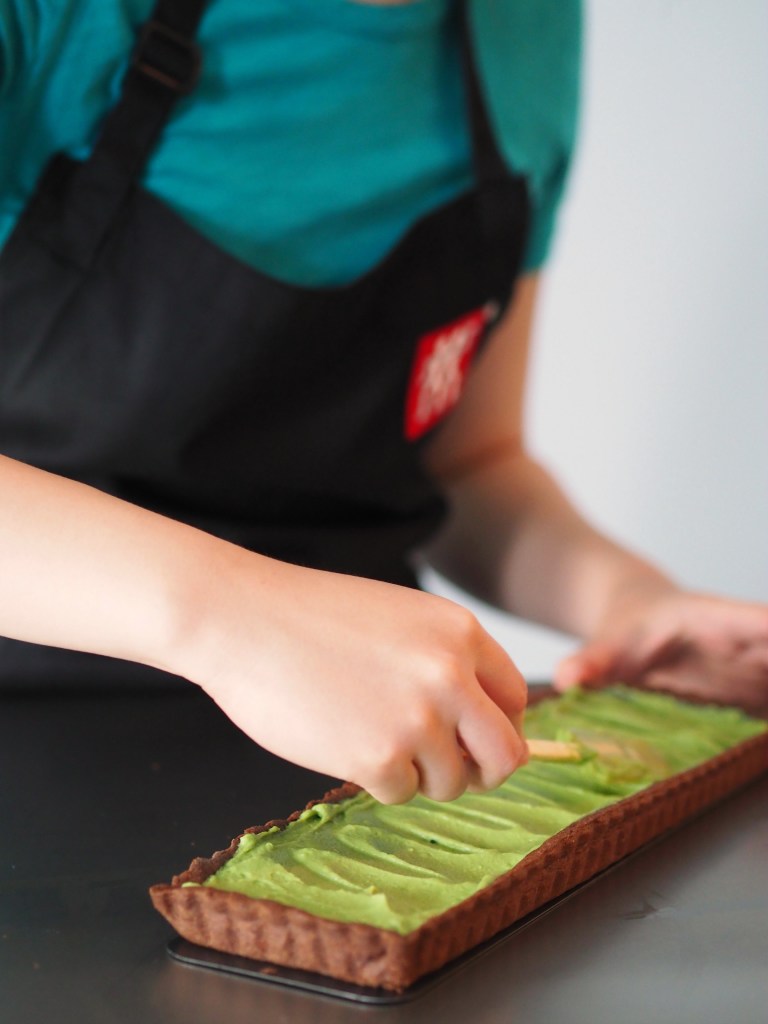
Assembling the Tart
- Seriously easy now. Scoop some of that bright green pastry cream into the chocolate tart. Give it an even layer by spreading it around using a rubber spatula.
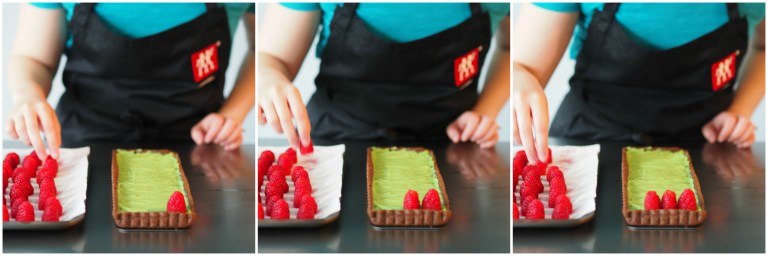
- Do you clean your raspberries? I do. Be gentle though as they’re so fragile. Let them dry on a paper towel before placing them over the matcha pastry cream. I was able to fit 4 in each row. Keep going until you’ve filled the entire tart.
- Dust with icing sugar just before serving. Best eaten on the day of!
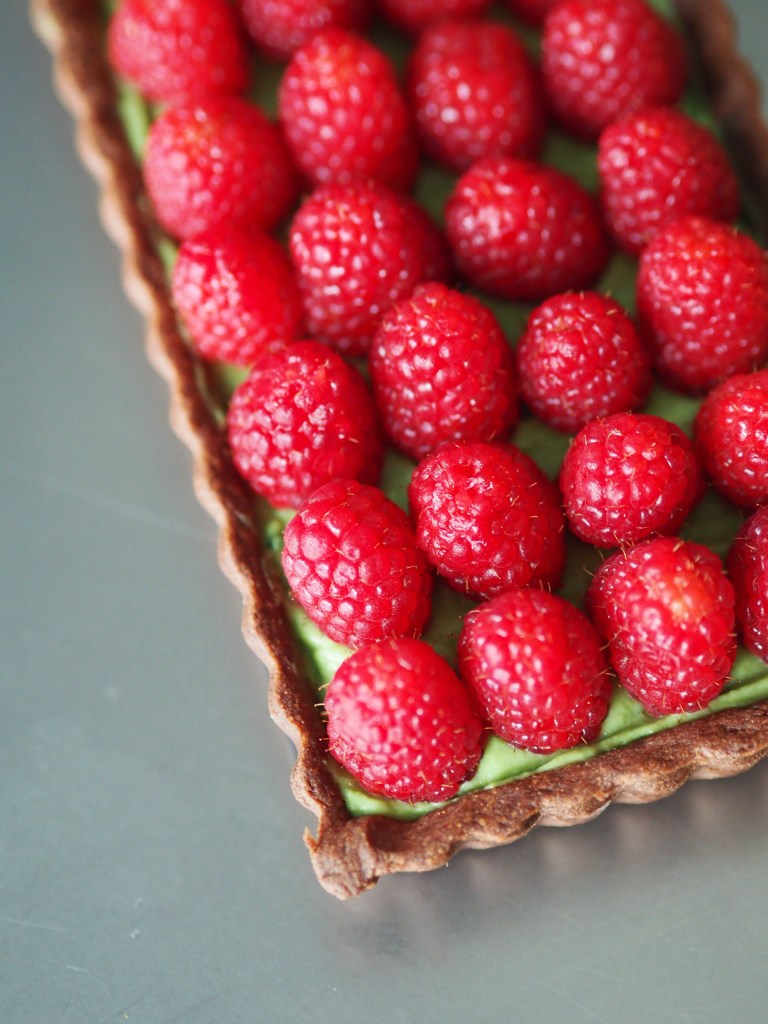

Gorgeous, right?
Sincerely,
Syl

Way too gorgeous! The colours are so nice together. I’m not sure I’d have the patience required to make this, but I’d definitely want to try it just once because it looks so nice.
p.s. I’m LOVING the new format of this new blog. 🙂
STEPHANIE!!! Thank you so much for your kind words. I know, I’m so baffled that this 3-item tart took so long to make!!