
Dear Howard,
Here it is! The answer to your Pizza Hut and Detroit-style pizza cravings. Pizza cooked in a cast iron pan!

Crispy Cheesy Pan Pizza
Recipe from King Arthur Baking Company
Crust
2 cups (240 grams) all-purpose flour
¾ teaspoon salt
½ teaspoon instant yeast or active dry yeast
¾ cup (170 grams) lukewarm water
1 tablespoon (13 grams) olive oil + 1½ tablespoons (18 grams) olive oil for the pan
Topping
Mozzarella, grated
Pizza sauce
Salami, thinly sliced
Parmesan, grated
Basil (I used dried since I didn’t have any fresh)
Red pepper flake
Two Days Before
- If you have a scale, I recommend weighing all the ingredients that are listed in grams.
- Place the flour, salt, yeast, water, and 1 tablespoon (13 grams) of the olive oil in a large mixing bowl. Stir everything together until you get a shaggy dough ball. Knead the dough a bit for a minute. Cover the bowl with plastic wrap or a towel and let it rest for 5 minutes.
- Uncover and reach in to the bottom of the dough with your hands. Imagine the dough as a square instead of a circle. Hold onto one side of this square and gently pull to stretch the dough out and then up. So that the bottom of the dough that you were holding onto is now on folded to the top. Do the same thing with the other three sides of the square.
- Cover the bowl back and let it rest for 5 minutes. Then repeat the folding process. Rest and repeat. Do this a total of 4 times – which means the dough would have rested for a total of 20 minutes with folds in between.
- Finally, cover and let it rest in room temperature for 40 minutes. Move it to the fridge after and let it rest for a minimum of 12 hours, or up to 72 hours.
The Day Of
- Three hours before serving, take out your dough and cast iron pan and coat with 1½ tablespoons (18 grams) of olive oil. Make sure to get the oil on the sides of the pan too.
- Take the dough and transfer it from the bowl the the oiled pan. Flip the dough round in the pan to cover it with oil as well. Then gently start flattening the dough so that it covers the bottom of the pan.
- Next, use your fingers to create dimples onto the top of the dough by simply poking it. If you’re finding it tough to flatten the dough into a circle, let the dough rest for 15 minutes and try again when it’s relaxed.
- Cover the pan with plastic wrap or a towel and let the dough rise for 2 hours.
- In your oven, move the two racks so that one is situated at the top and the other at the very bottom. Preheat your oven to 450°F.
- Sprinkle the mozzarella cheese over the dough. Make sure it covers the surface completely and make sure there’s lots of cheese around the edges – this will later crisp up against the cast iron, making the most delicious crust.
- Dollop pizza sauce on top of the mozzarella cheese. Because I’m using dry basil, I sprinkle some onto the sauce here. Keeping a layer of cheese between the dough helps the pizza not get soggy!
- Sprinkle a lighter layer of mozzarella cheese over the pizza sauce. Layer on the salami and some parmesan cheese.
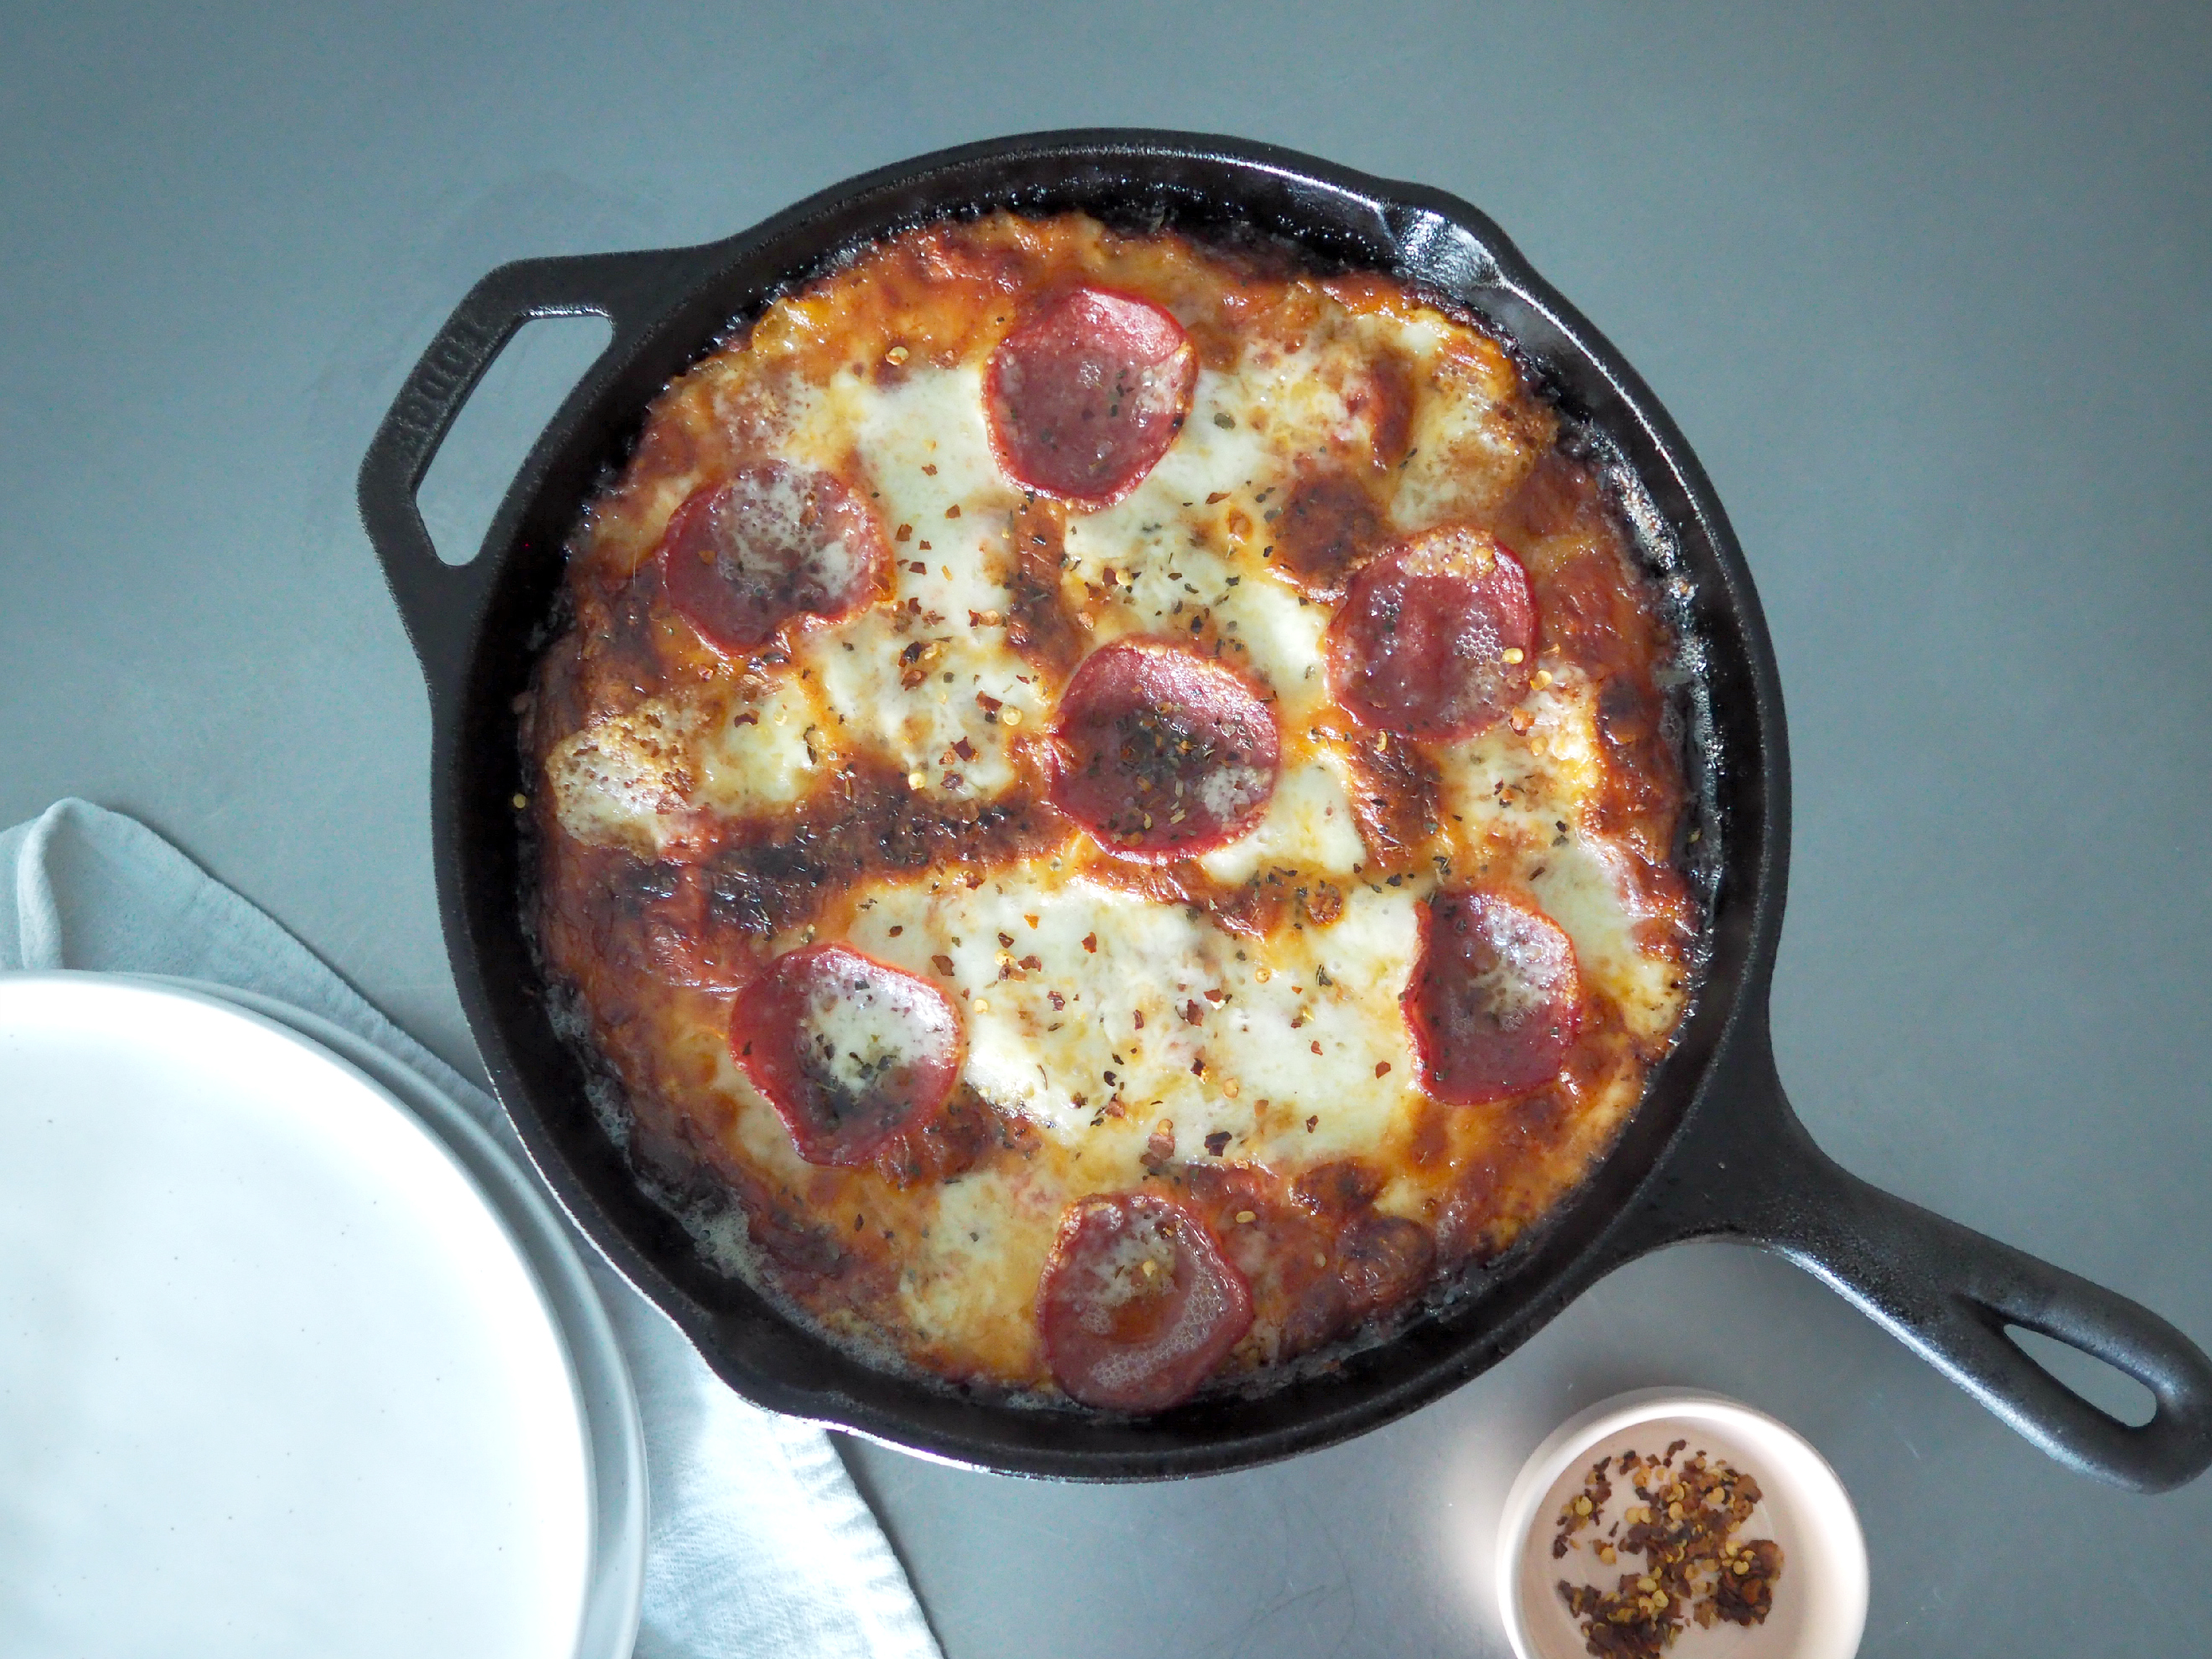
- When your oven is ready, put the cast iron pan on the bottom rack for 18 to 20 minutes. Take a look at 18 minutes to see if the cheese is bubbling and if the crust looks golden brown. If it’s still pale, bake for the extra 2 minutes. Or, do what I did and move the pan to the top oven rack, turned off the oven, and turned on the boiler. This way the salami and cheese would crisp up even more for the last 2 minutes.
- Remove the pizza from the oven (careful, super hot!) and let it cool. Run a knife or spatula along the edges to help loosen the pizza. I used kitchen shears to cut them into slices. Top with red pepper flakes and enjoy!
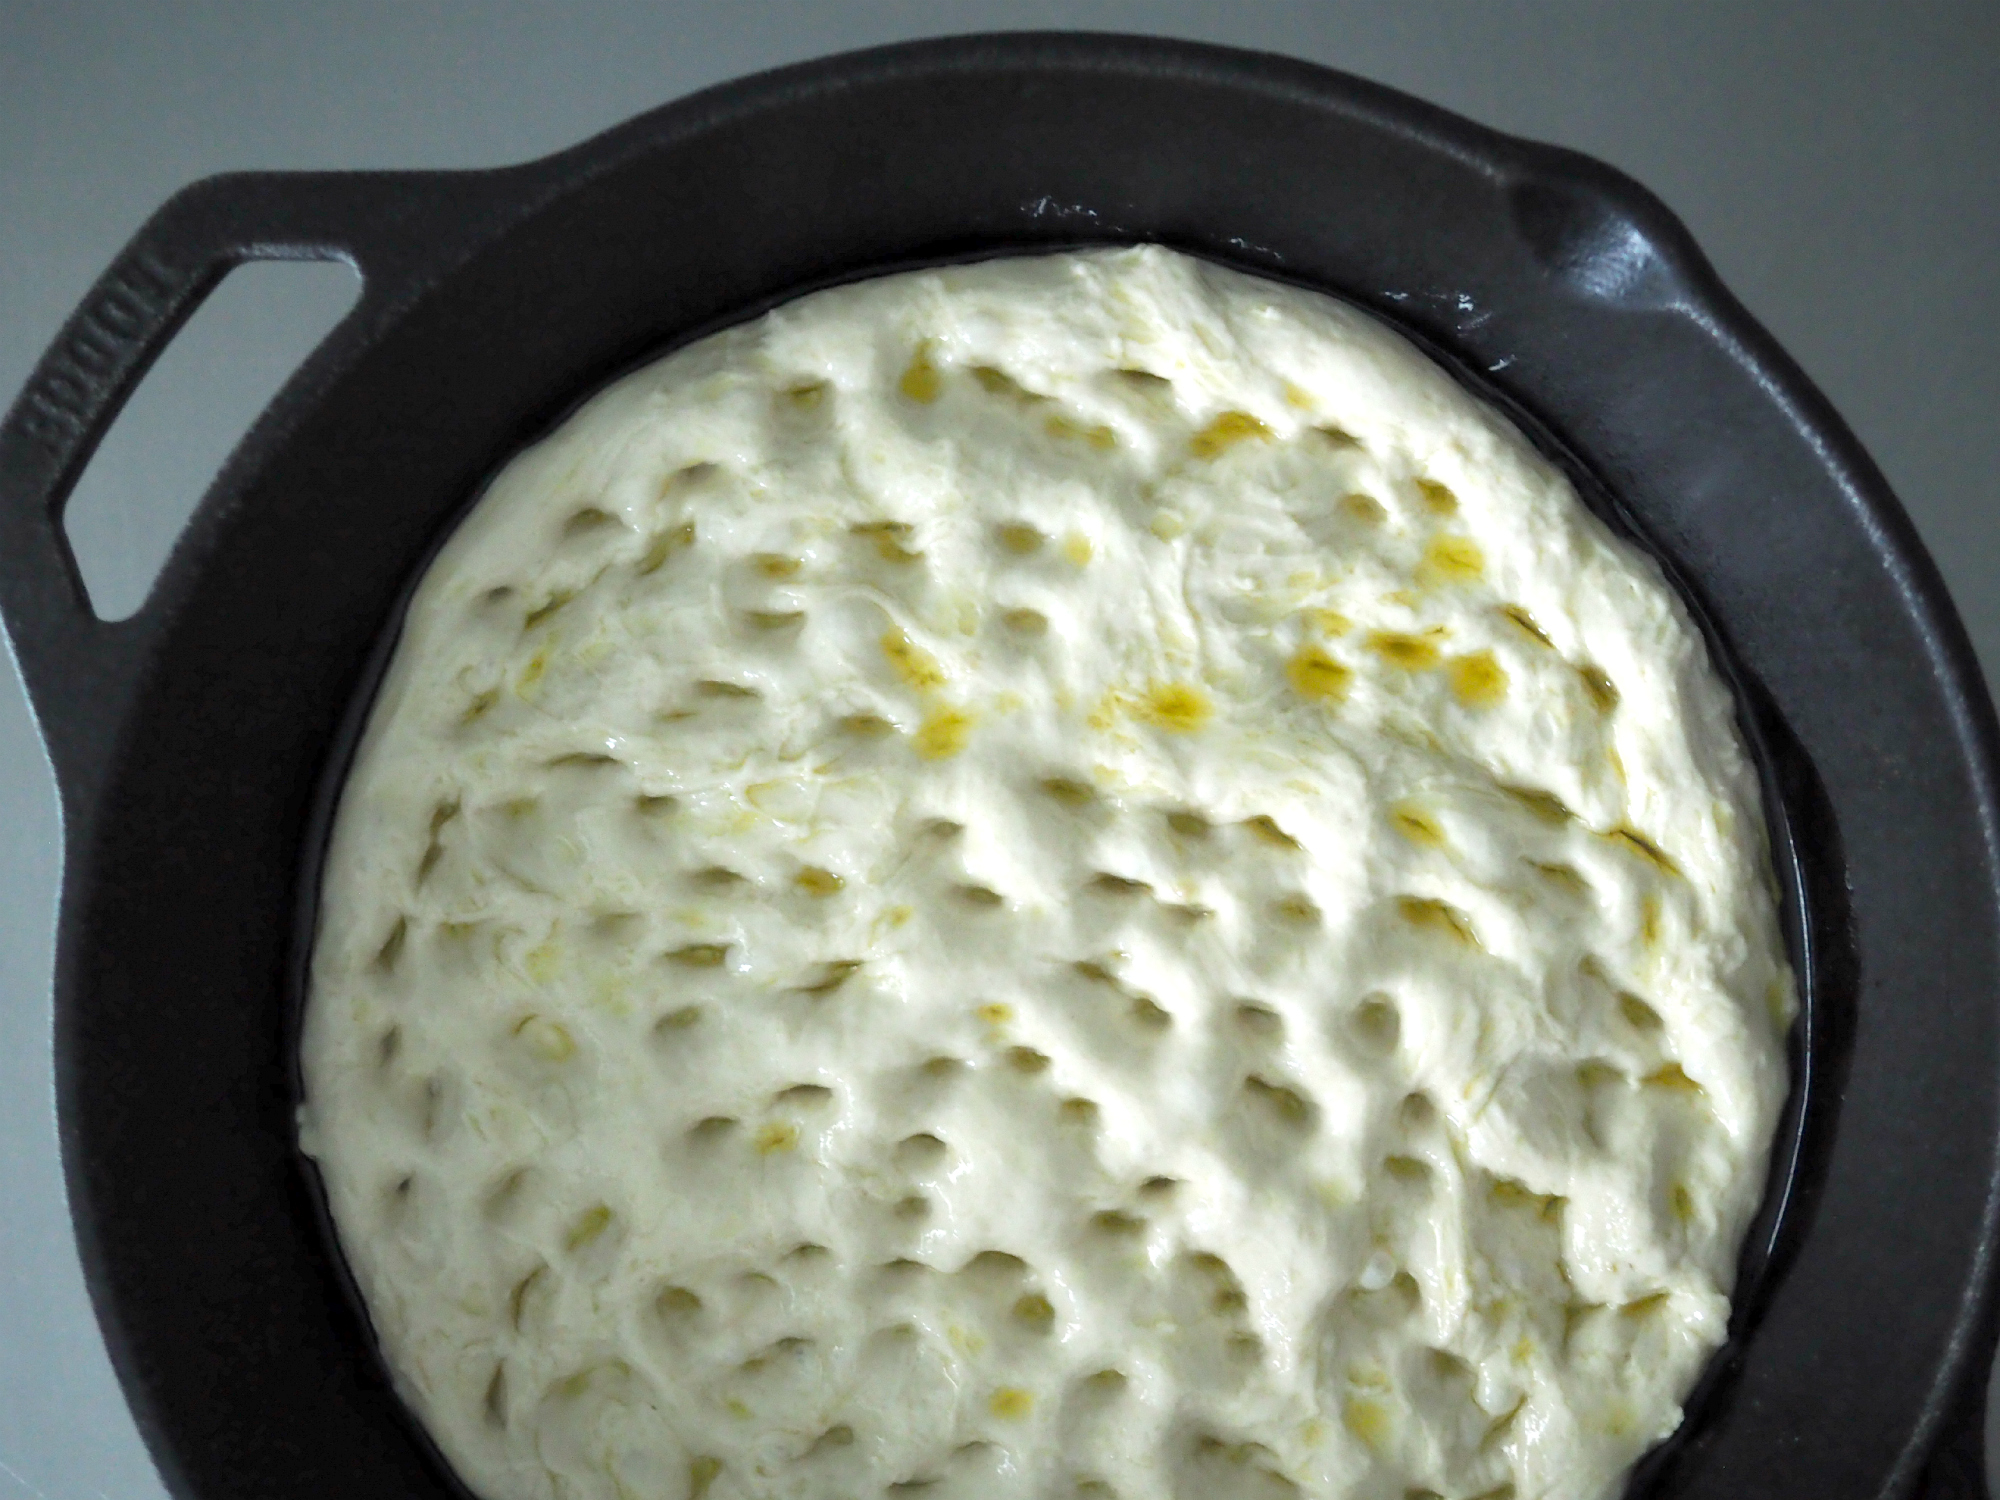
I feel like I’m making focaccia, but it’s going to be delicious pizza, I swear!
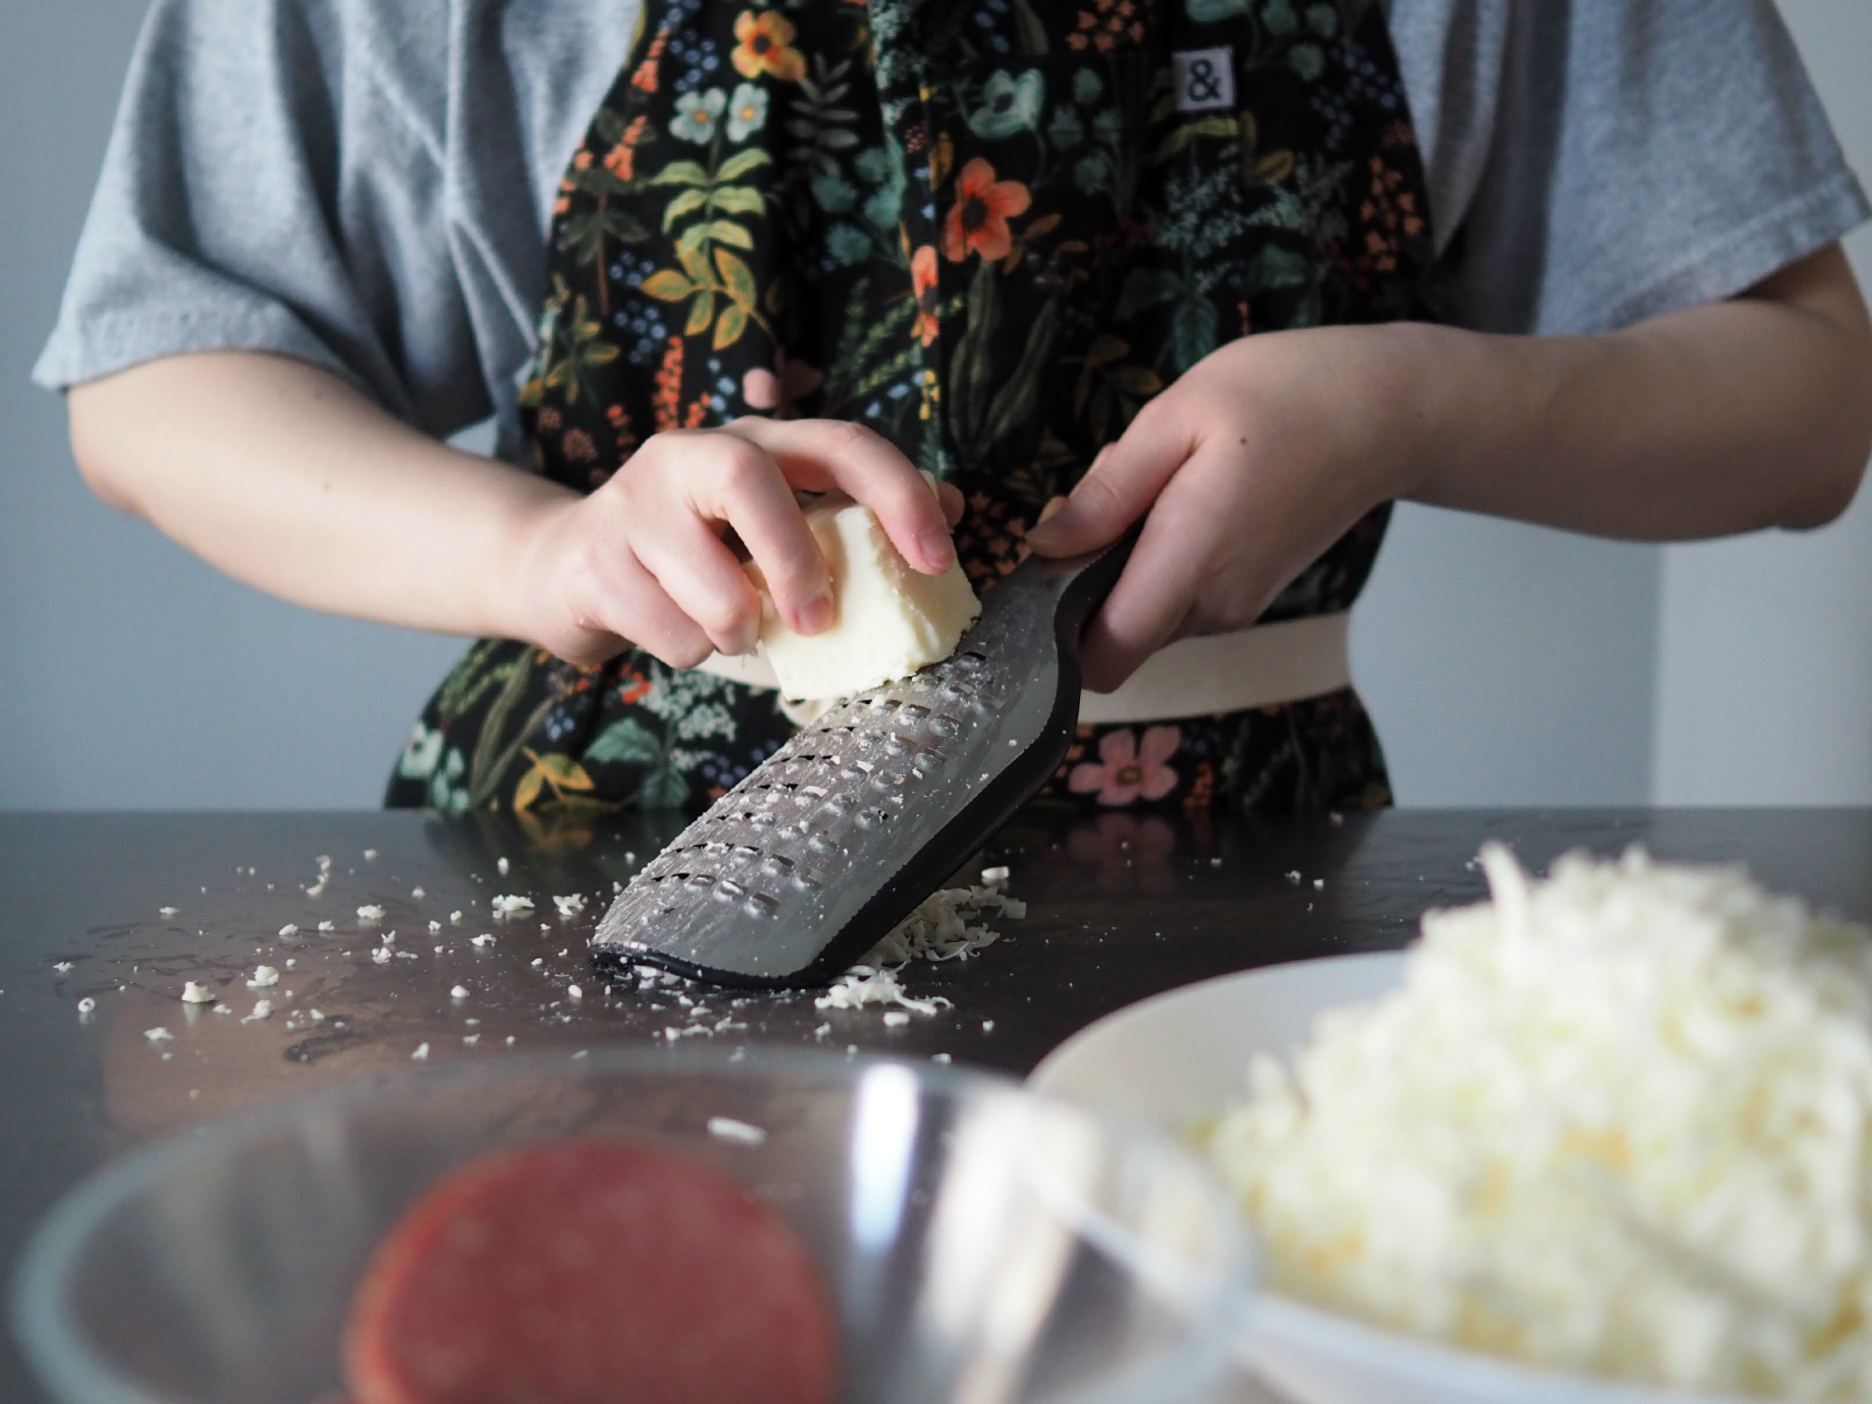
I hate grating anything for fear of my fingers. I even grated on the table for maximum stability. The trick to grating soft mozzarella balls was to pop them in the freezer. This worked wonderfully, but now we have to solve how to prevent our hands from being super cold after holding the cheese.

Homemade pizza sauce is nice, but so is store-bought sometimes!

Pile on the salami, even if it feels like they’re too close together because it will shrink considerably after baking.
See? Needs more salami. You could add fresh basil on top at this point too.
Sincerely,
Syl
